

Rooftop venues look incredible in the brochure and can be brutal on the day. No shade, a skyline that is four stops brighter than your couple, a 25 km/h gust that turns a cathedral veil into a sail, and a shooting space the size of a parking spot. This guide collects the rooftop wedding photography tips we actually use on real terraces, from the first light check to the last blue hour frame.
Why rooftop weddings are technically harder than they look
A rooftop is basically an outdoor studio with one giant, uncontrollable light source and a background you cannot move. Four things go wrong more often than anything else:
- Extreme dynamic range. The sky and glass towers are far brighter than skin in shade.
- Zero shade. Midday ceremonies leave raccoon eyes and squinting guests.
- Wind. Hair, veils, table linens, and light stands all suffer.
- Cramped geometry. Parapets, HVAC units, and bar setups block the angles you want.
Solve those four and the rest of the day is a normal wedding with a spectacular backdrop.

Scout the roof before the wedding day
A 30 minute site visit at the same time of day as the ceremony is the single highest value thing you can do.
- Track the sun. Use a sun position app to note where the sun sits at ceremony time, at portrait time, and at sunset. Rooftops have no trees, so the sun path is your entire lighting plan.
- Find the shade. Look for a stairwell block, elevator housing, a pergola, an awning, or the shadow side of a neighbouring tower. Mark it as your portrait zone.
- Photograph the backgrounds. Shoot phone reference frames of the three or four cleanest skyline compositions and note the time each one is backlit or front lit.
- Check the wind pattern. Rooftops have wind tunnels between buildings and calm corners behind walls. Stand in each corner and feel it.
- Ask about restrictions. Many buildings forbid light stands near the edge, sparklers, drones, or anything unweighted. Get the rules in writing.
- Locate power and the freight elevator. If you need to reload or grab a light mid reception, you need to know the route.
Quick scouting checklist
| Item | What to note |
|---|---|
| Sun direction | Ceremony, portraits, sunset, and where it drops behind buildings |
| Shade zones | Stairwell walls, awnings, shadow of the next tower |
| Best skyline angles | Three compositions, plus a clean sky only fallback |
| Clutter | HVAC units, vents, exit signs, cables, bins |
| Wind corners | Calm pockets for veil and hair shots |
| Rules | Stands, sandbags, edge access, drone policy, curfew |
How to expose for a bright skyline without losing your couple
The classic rooftop failure is a perfectly exposed city and two grey silhouettes who paid you to see their faces. Here is the working method.
1. Expose for the highlights, then lift the subject with light
Modern sensors recover shadows far better than blown skies. Set exposure so the brightest part of the sky and glass holds detail (watch your highlight alert or histogram right edge), then add light on the couple with:
- An off camera flash in a small softbox at 45 degrees, feathered so the light does not spill onto the parapet.
- A reflector for quiet moments when a flash would be intrusive, but only if someone can hold it in wind.
- High speed sync when you want f/2 at 1/2000 s to keep the skyline soft behind them.
2. Use the sky as your key light
If flash is not allowed or not appropriate, turn the couple so the open sky (not the sun) is the main light on their faces. Place them just inside the shade line of a wall with the bright sky in front of them. Skin gets soft, even light and the background stays rich. (via https://davidiam.com)
3. Bracket only where it counts
Do not bracket the ceremony. Do bracket the empty venue detail shots and any wide architectural frame where you want a natural blend of interior lamps and sky.
Exposure cheat sheet
| Situation | Starting point | Key move |
|---|---|---|
| Harsh midday, no shade | ISO 100, f/4, 1/2000 s | Backlight the couple, fill with flash or reflector |
| Open shade near a wall | ISO 200, f/2.0, 1/1000 s | Face them toward the open sky, meter for skin |
| Golden hour skyline | ISO 200, f/2.0, 1/1250 s | Underexpose 1/3 stop to keep sky colour |
| Blue hour with city lights | ISO 800 to 1600, f/1.8, 1/125 s | Low power flash at 1/8 or bare bulb behind couple |
| Full dark reception | ISO 1600 to 3200, f/2.0, 1/60 s | Drag the shutter to keep skyline bokeh alive |
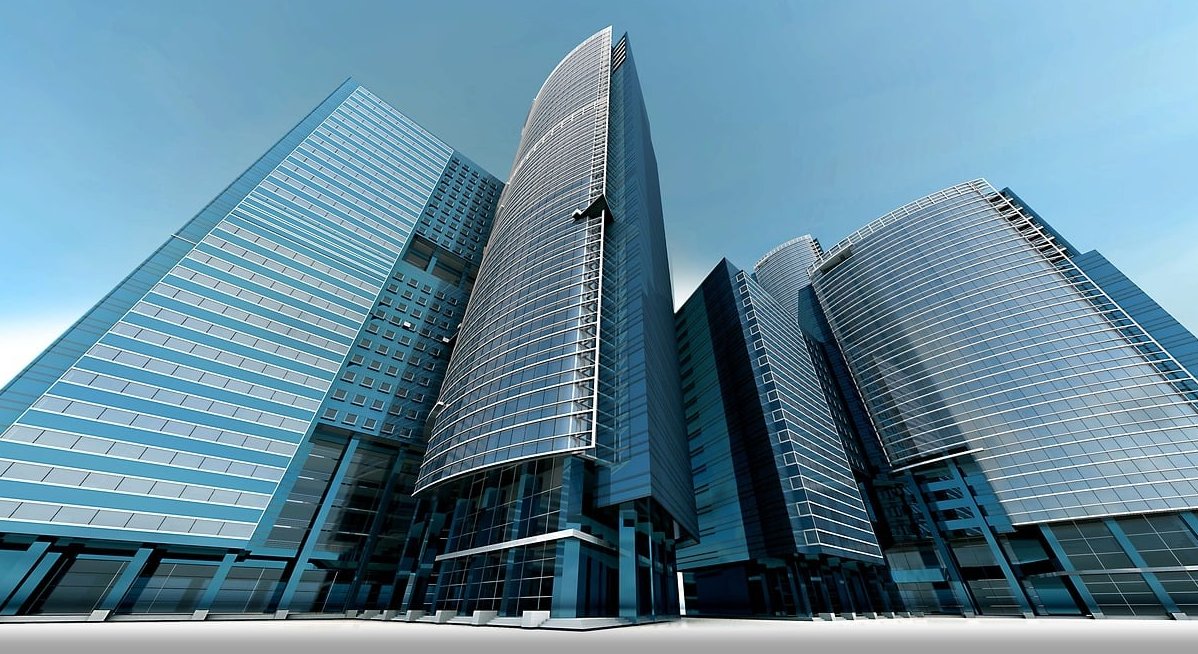
Best angles for rooftop couple portraits
A skyline is a strong graphic element. Treat it like a co-star, not wallpaper.
Go low and shoot up
Crouch or lie down and shoot at 24 mm to 35 mm from below waist height. The couple rises above the parapet, unwanted rooftop clutter disappears under the frame line, and the buildings lean in around them. This is the fastest way to make a small terrace look monumental.
Compress the city with a long lens
An 85 mm, 135 mm, or 70 to 200 mm at the long end stacks the towers behind the couple and makes distant landmarks look twice as big. Step back as far as the roof allows, shoot at f/2 to f/2.8, and let the skyline melt into shape and colour.
Silhouettes against the bright side
Turn off the flash, expose for the sky, and place the couple on the edge of the frame in profile. Ask for a clear gap between their faces and a visible shape between the arms so the silhouette reads. This works at golden hour and again once the city lights come on.
Shoot through and around foreground
- Glass railings and windows for reflections that double the skyline.
- String lights or bar glassware held close to the lens for foreground bokeh.
- Doorways and stairwell frames to add depth on flat, open roofs.
- Puddles after rain for a mirrored city under their feet.
The four frames to get at every rooftop
- Wide environmental: couple small, city huge, tells the location story.
- Medium three quarter: a recognisable landmark placed clearly over a shoulder.
- Tight and emotional: skyline reduced to soft bokeh, faces dominate.
- Graphic silhouette: shape only, saved for the strongest sky of the evening.
Posing on a rooftop: small space, big look
- Keep them off the exact edge. It is stressful, it is often against building rules, and a metre back looks identical from a low angle.
- Angle bodies about 45 degrees to the skyline so you get both faces and the view.
- Use motion instead of steps. A slow walk of two metres, a spin of the dress, a lean in for a whisper. Movement fills a cramped space with life.
- Watch the horizon line. Never let it cut across their necks. Move your camera height up or down until it crosses at chest level or above the heads.
- Mind the parapet crop. A waist high wall behind them can look like the couple is buried in concrete. Go lower.

Handling harsh midday sun with no shade
Many rooftop ceremonies are booked for 13:00 or 15:00 because of venue slots. Plan for it.
- Turn everyone away from the sun. Backlight prevents squinting and gives a rim on hair. Shade your front element with a hood or your hand to control flare.
- Ask about ceremony orientation. If the planner is flexible, rotate the aisle so guests are not staring into the sun and the couple is backlit.
- Bring your own shade. A large diffusion panel or a white umbrella held by a second shooter turns 20 seconds of brutal sun into usable portrait light.
- Use flash as fill outdoors. One speedlight at 1/4 power with high speed sync at two metres cleans up eye sockets instantly.
- Move family photos to the shade line. Even a narrow band of shade next to the stairwell beats squinting relatives in full sun.
- Shoot skin tone first. A slightly bright sky is forgivable. Grey, muddy faces are not.
Wind: the real rooftop enemy
Wind is stronger 20 floors up than at street level, and it accelerates between towers. It is also the number one reason rooftop galleries have unusable portraits.
Before the day
- Check hourly wind forecast, not just the daily average. Gust speed matters more than average speed.
- Warn the couple politely: a long, light veil above 20 km/h will fly constantly. Suggest a shorter veil, a comb pinned deep, or a hairstyle that survives movement.
- Tell the planner that unweighted arches, candles, and paper stationery will not survive.
On the day
- Work the calm corners you scouted. Behind the stairwell block is usually the quietest spot on the roof.
- Shoot with the wind, not against it. Position so the wind blows hair away from the face rather than across it.
- Make the wind the shot. A veil arcing above them is a hero image. Time it: watch the gust cycle, count, and fire in bursts.
- Raise your shutter speed. 1/500 s minimum for flying fabric, 1/1000 s if you want crisp hair strands.
- Sandbag everything. Two bags per stand, or drop the light to boom height, or better, hand hold the light on a monopod.
- Carry a small comb, hairspray, and bobby pins in your bag. A ten second fix saves ten frames.
- Protect your gear. Grit and dust get airborne on roofs. Change lenses facing away from wind, or not at all.
Working in a cramped shooting space
- Prime yourself for wide. A 24 mm or 35 mm is your workhorse. A 20 mm saves you when the aisle is two metres wide.
- Use height. Stand on a sturdy chair or the top step of the stairwell entrance for a clean overhead of the ceremony (with permission).
- Shoot from the corners. Diagonals give you the longest sightlines in a small rectangle.
- Two bodies, no lens swaps. Wide on one, 85 mm on the other. There is no room to kneel and rummage in a bag.
- Do group shots in shifts. Small clusters of four to six look better than a squeezed row of twenty against an HVAC unit.
- Keep your kit in one bag against a wall so nobody trips and nothing blows off the roof.

Golden hour to blue hour: the rooftop money window
This is why the couple booked a roof. The window from about 20 minutes before sunset to about 30 minutes after is where you get your portfolio images.
Plan the timeline backwards from sunset
| Time relative to sunset | What to shoot | Light approach |
|---|---|---|
| -30 min | Golden hour couple portraits | Natural backlight, low angle, long lens |
| -10 min | Silhouettes and wide skyline frames | Expose for sky, no flash |
| 0 to +10 min | Reception details, sunset colour | Fast glass, rising ISO |
| +15 to +30 min | Blue hour portraits with city lights | Low power flash, drag shutter to 1/60 s |
| +40 min onward | Dancing, night creatives | On camera bounce is useless outdoors, use direct flash with a warm gel |
Blue hour technique
- Balance flash to ambient so the skyline still reads. If the background goes black, your shutter is too fast or your flash is too strong.
- Use a CTO gel on the flash to match warm city lights, then set white balance around 3200 K to 3800 K to keep the sky blue.
- Try a bare video light held low for a warm, cinematic look with continuous feedback.
- Drag the shutter to 1/15 s to 1/30 s on a stable stance for light trails from traffic below.
- Focus fast: switch to a single point on the eye, and use a focus assist light or your phone torch if the roof is dark.
Gear that earns its place on a roof
- Two bodies with dual card slots. No time to change lenses in tight space.
- 24 to 70 mm plus 70 to 200 mm, or 35 mm and 85 mm primes if you prefer light.
- One speedlight with high speed sync and a second as backup, plus a compact modifier.
- Sandbags or a weighted stand, or a monopod and an assistant.
- ND filter if you want f/1.4 at midday without HSS.
- Lens hood and a microfibre cloth for flare control and airborne dust.
- Gaffer tape for taping down cables, hems, and stray decor.
- Sunscreen, water, and a hat. You will be on an exposed slab for hours.
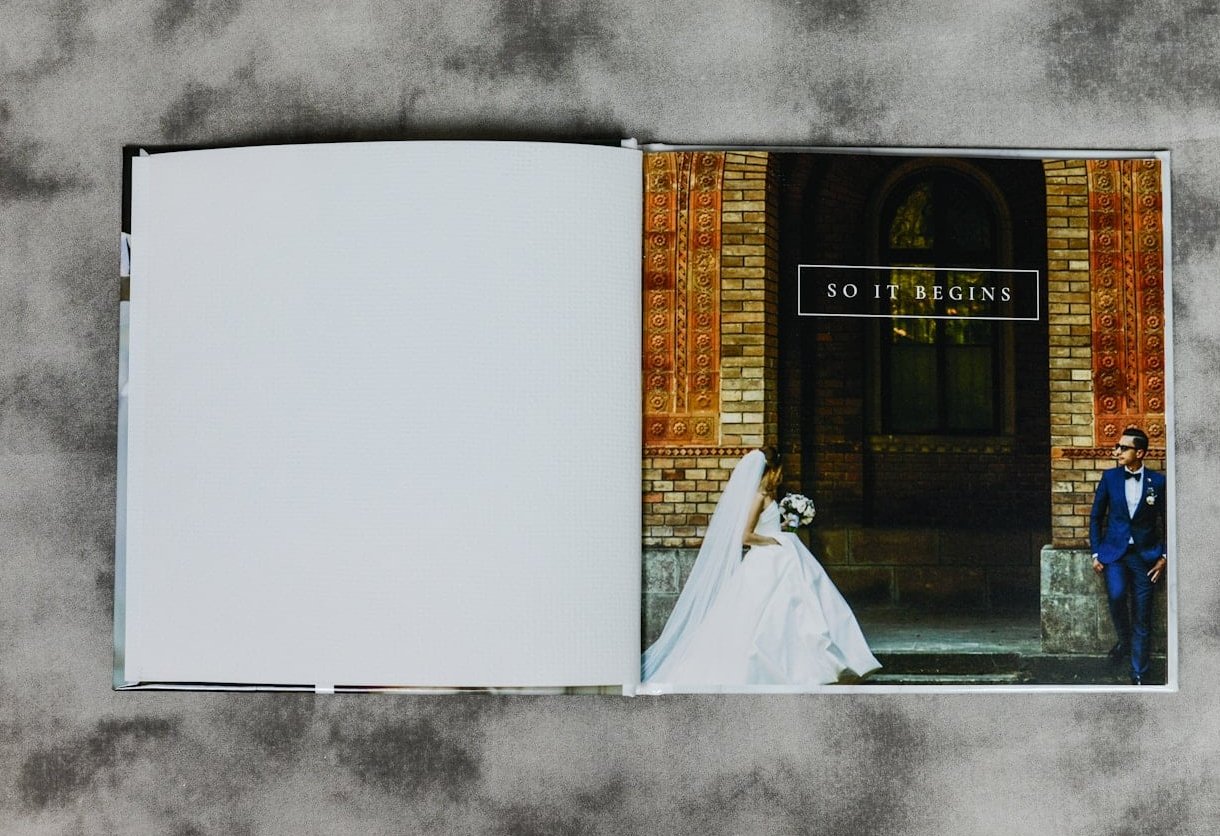
Rooftop wedding shot list
- Empty venue wide, before guests arrive, ideally with clean sky.
- Detail flat lay shot in shade, never in direct midday sun.
- Aisle wide from the back with skyline compressed behind the altar.
- Ceremony reactions from the corner angle.
- Post ceremony hug with the city visible over shoulders.
- Low angle couple portrait, buildings towering.
- Long lens compression with a landmark.
- Veil in the wind hero frame.
- Golden hour backlit walk.
- Sunset silhouette in profile.
- Blue hour flash portrait with lit skyline.
- Night dancing wide showing the city as the ceiling.
Common rooftop mistakes to avoid
- Shooting everything from standing eye level. The parapet eats your composition.
- Blowing the sky to save skin. Add light instead.
- Leaving the light stand unweighted. One gust and it is a liability.
- Ignoring rooftop clutter. Vents and exit signs in the background ruin otherwise perfect frames.
- Missing blue hour. Give the planner a hard time marker weeks in advance.
- Forgetting the guests. The skyline is the draw, but people are the story.
FAQ: rooftop wedding photography
What camera settings work best for a rooftop wedding?
Start at ISO 100, f/4, 1/2000 s in harsh midday light and expose to protect the sky. At golden hour move to f/2 and 1/1250 s. At blue hour go to ISO 800 to 1600, f/1.8, and around 1/125 s with low power flash. Adjust from there rather than guessing on the day.
How do you stop the skyline from being overexposed?
Meter for the brightest part of the sky, use highlight alerts, and then light the couple with flash or a reflector so their faces match. Recovering shadows in raw is far safer than trying to rebuild a blown sky.
What is the best time of day for rooftop wedding photos?
The 45 minute window around sunset. Golden hour gives warm backlight, and the 20 to 30 minutes after sunset give you a blue sky plus lit buildings, which is the classic rooftop look. Midday works, but only with shade, backlighting, and fill light. rooftop1630.com makes the same point with more data.
How windy is too windy for a rooftop wedding?
Above roughly 25 to 30 km/h, veils, table decor, and light stands become unmanageable. Between 15 and 25 km/h you can still work by using calm corners, raising your shutter speed, and timing gusts. Above 40 km/h, most venues activate an indoor backup plan.
Do you need flash for a rooftop wedding?
Yes, in almost every case. You need it as fill in harsh sun and as key light at blue hour and after dark. Bounce is useless outdoors, so bring a modifier, a gel, and a way to keep the light stable in wind.
How do you shoot a rooftop wedding in a very small space?
Use a 24 mm or 35 mm as your main lens, shoot from corners for the longest diagonals, go low so the parapet hides clutter, and split large group photos into smaller clusters. Carry two bodies so you never need to swap lenses in a crowd.
Can you use a drone at a rooftop wedding?
Often not. City centre airspace is usually restricted and many buildings ban it outright. Always check local aviation rules and get written permission from the venue before you promise aerial coverage to a couple.
Final thought
Rooftop weddings reward preparation more than any other venue type. Scout the sun, find your shade, respect the wind, protect your highlights, and guard the blue hour window in the timeline. Do those five things and the skyline does the rest of the work for you. A fuller account is out there.
Need a rooftop specialist or want your rooftop gallery edited to match that skyline colour? Get in touch with the team at ComfyPixel.